G’day guys!
Today I wanted to show you all how to create an Insomnia-First swagger page, so your API can easily be consumed by Insomnia, all in one go.
Hey! I don’t have insomnia!

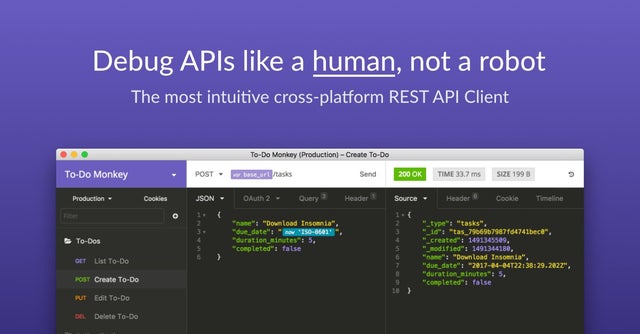
When you read insomnia here, I’d forgive you for thinking of sleepless nights or the edgy song from the 90s - but I’m actually talking about Insomnia the REST client. That’s right! Move over Postman, you’ve got some competition!
Hold up, what’s wrong with Postman?
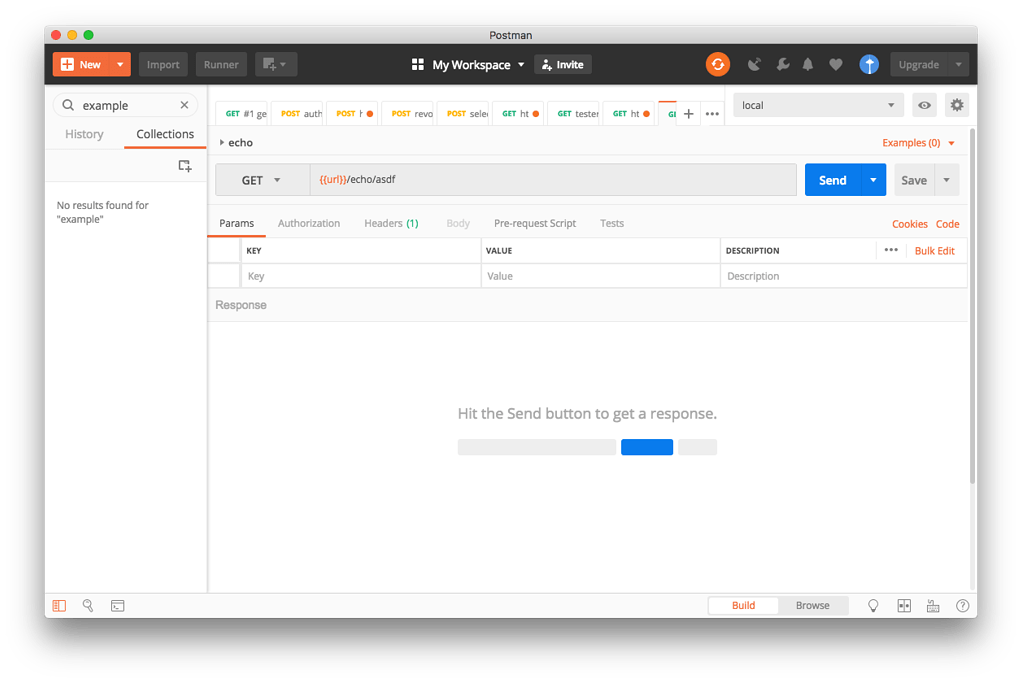
An obsession with tabs? Clunky UX? A slow startup? Don’t get me wrong - I think Postman offers a very robust product that’s a useful tool for the right job. Their test runner in particular is very full-featured, and is probably in the toolbox of every QA / QE. But for us software devs, I think it’s overkill. Insomnia starts faster, is easier to navigate and simpler to use - in my humble opinion.
OK - What’s this got to do with Swagger?
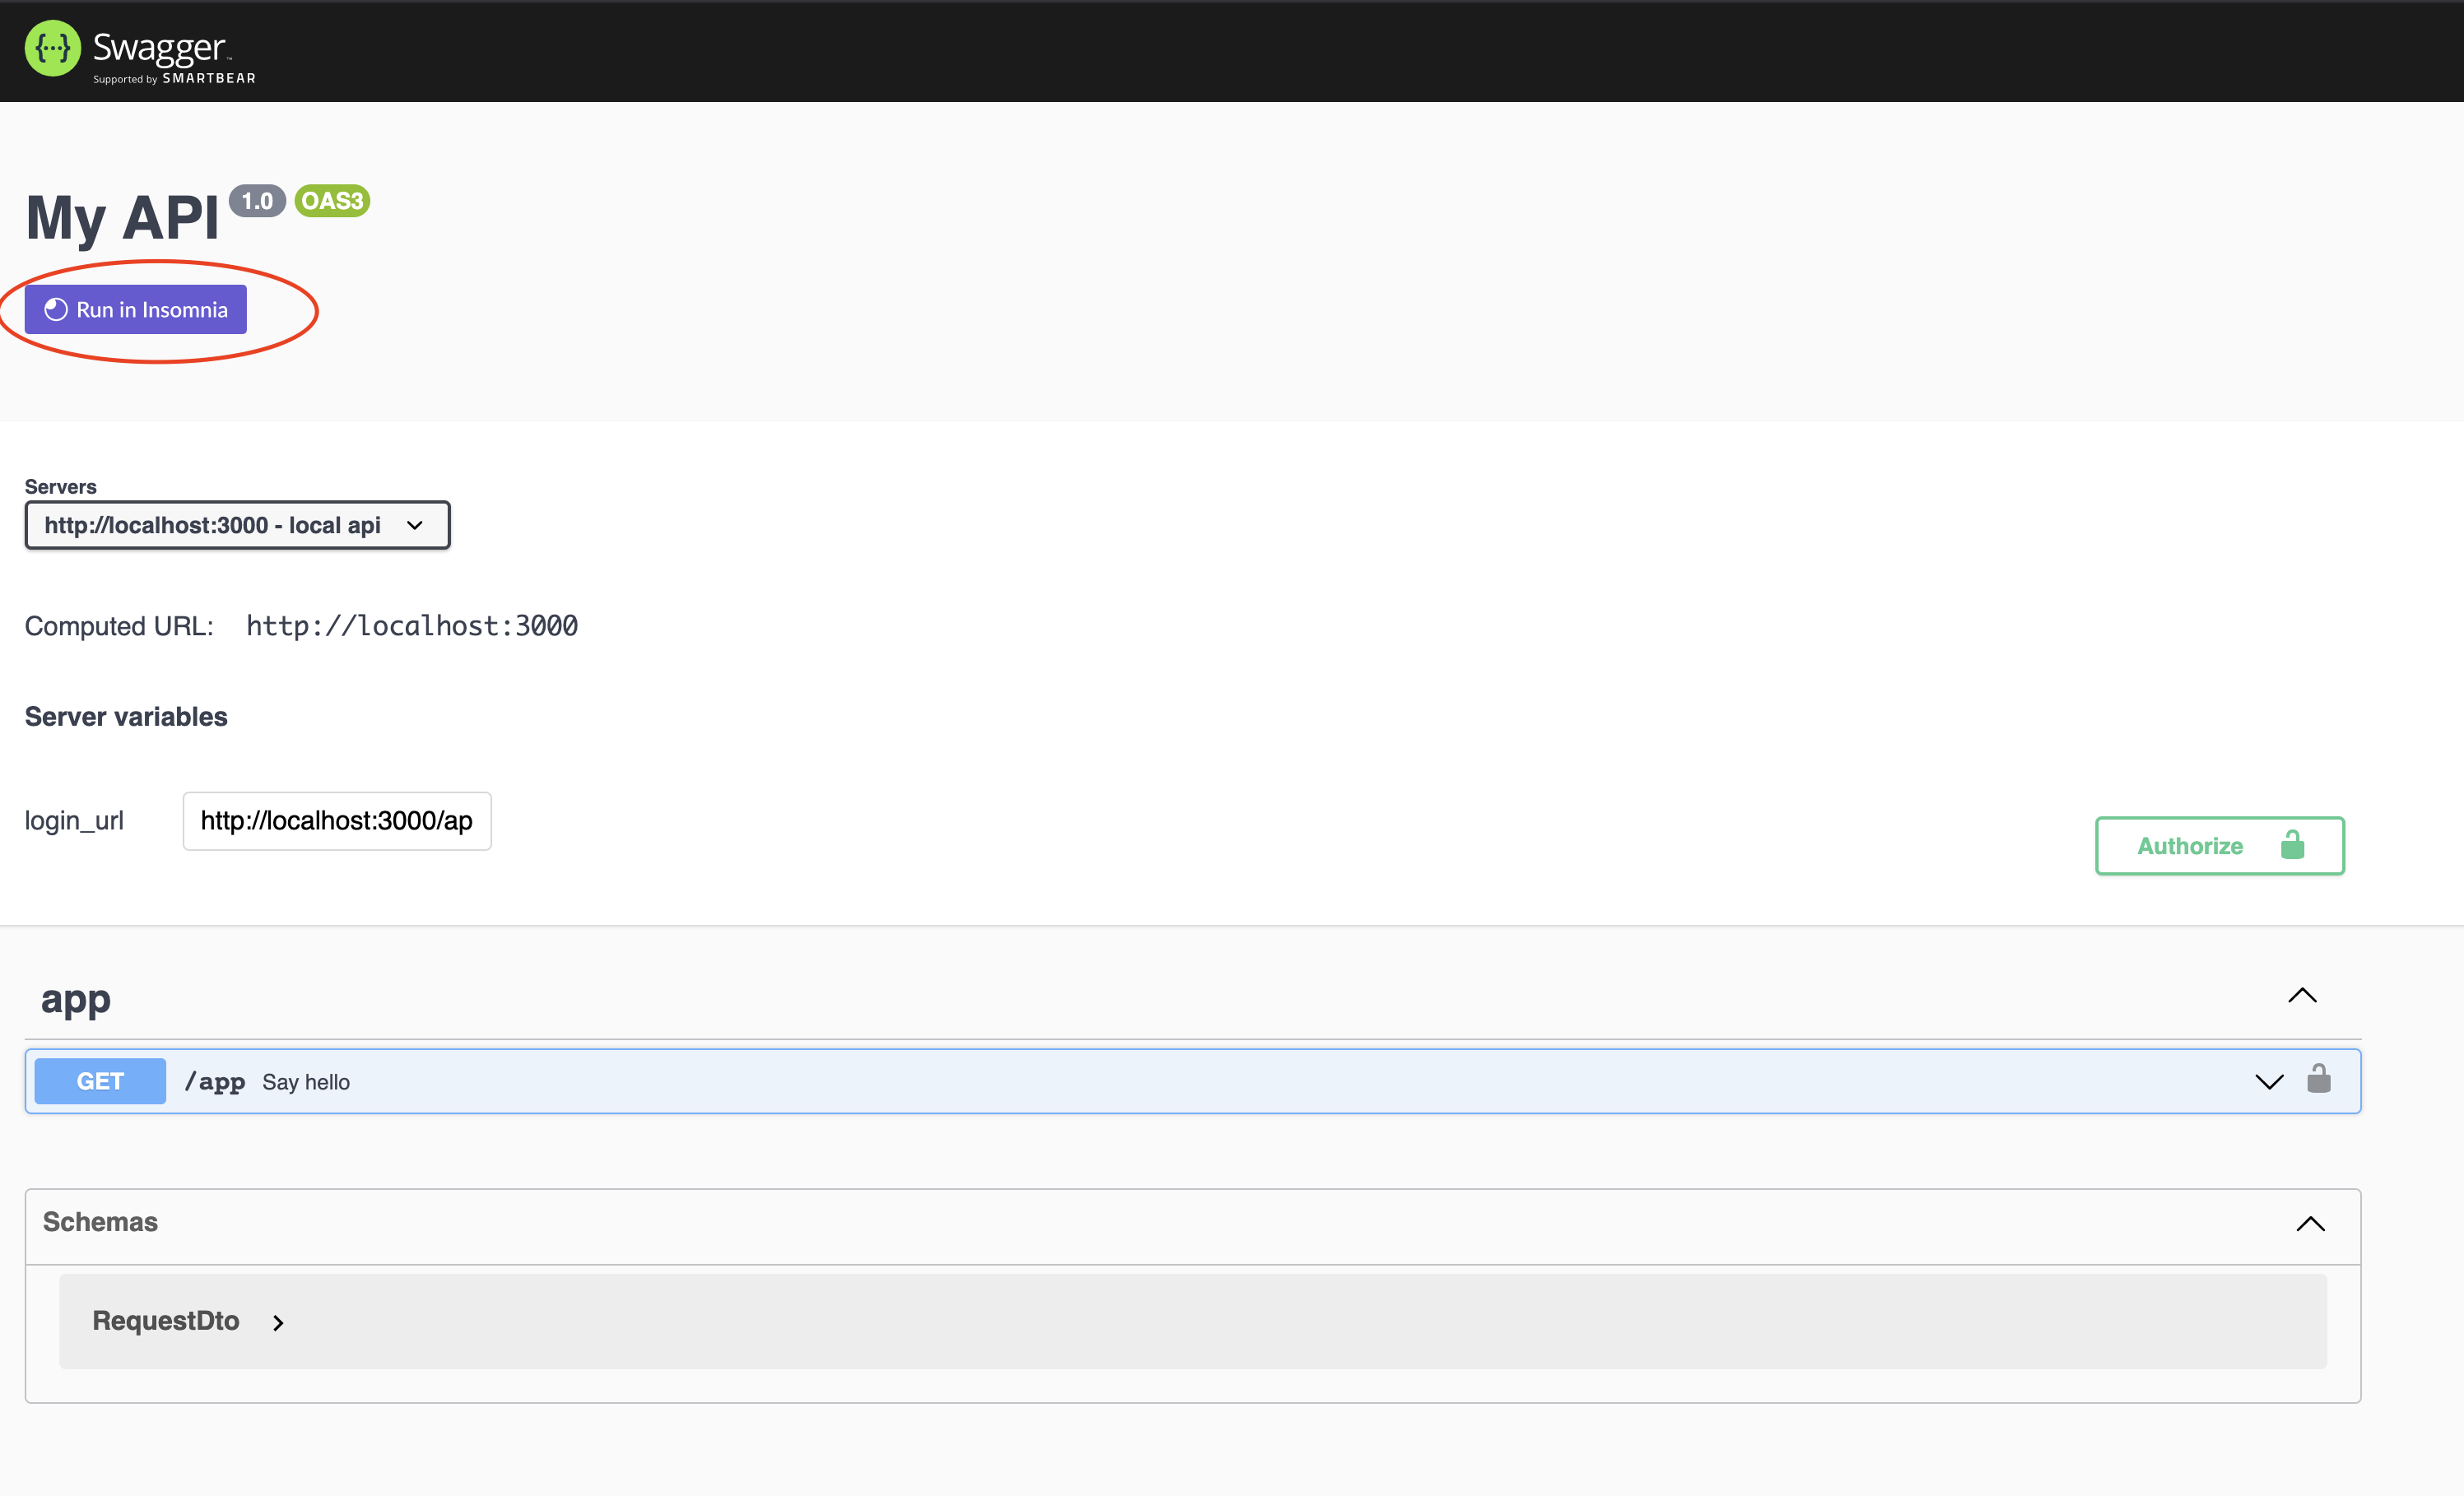
See this beautiful Run in Insomnia button? When you hit that, Insomnia will open up and ask you if you want to import the collection, making it super-easy to put together a comprehensive collection of API endpoints. Say goodbye to importing a curl for each endpoint individually.
Impressive! How do we add that button?
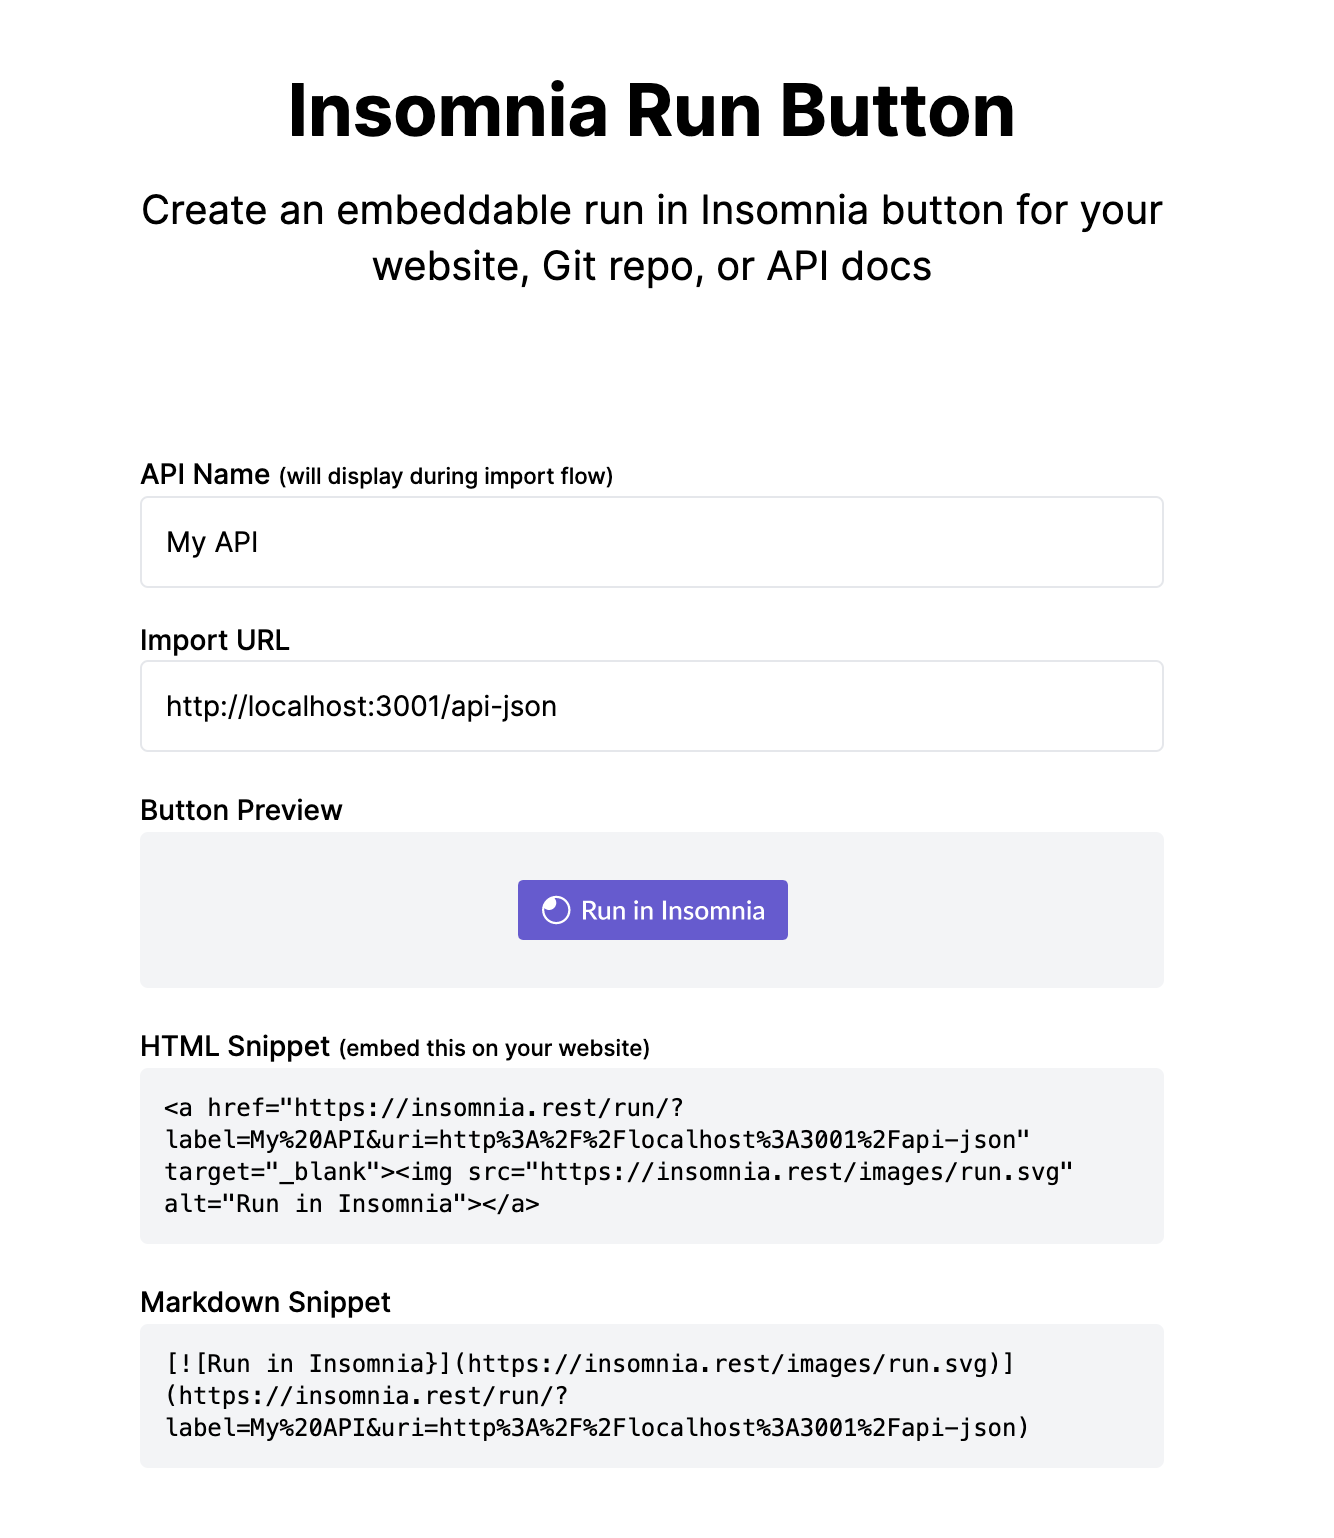 Visit https://insomnia.rest/create-run-button and enter your API settings. The Import URL will likely depend on your implementation. For dotnet projects, this tends to be a
 swagger.json file. Since this particular example is a NestJS project running on express, the swagger schema is available under an api-json endpoint instead.
In any case, what you want to do it to take the HTML snippet that the previous page has generated for you and set it as the description of your swagger spec. How to do this will of course also vary depending on your stack, but in NestJS, a full swagger config sample might look like this (in main.ts):
  const app = await NestFactory.create(AppModule);

  // Swagger setup
  const config = new DocumentBuilder()
    .setTitle('My API')
    .setDescription('My API specification')
    .setVersion('1.0')
    .addTag('app', '')
    .setDescription('<a href="https://insomnia.rest/run/?label=My%20API&uri=http%3A%2F%2Flocalhost%3A3001%2Fapi-json" target="_blank"><img src="https://insomnia.rest/images/run.svg" alt="Run in Insomnia"></a>')
    .build();

  const document = SwaggerModule.createDocument(app, config);
  SwaggerModule.setup('api', app, document);

  await app.listen(3001);
And because the description is just HTML, you’re of course free to add content before or after the button.
The result?
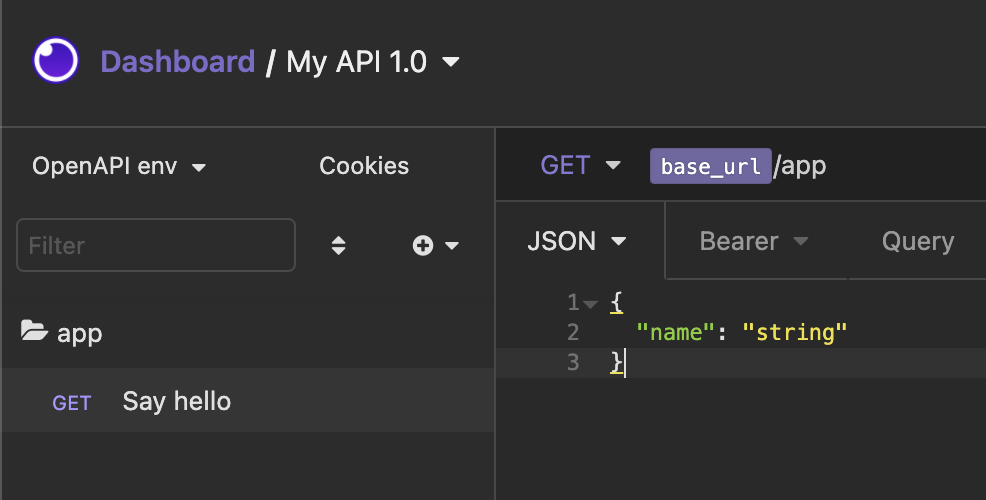
As you can see here, my endpoint (with a sample body and other variables like the baseUrl) has been imported, contained within a folder as identified by the tag in the swagger spec. This probably doesn’t look too impressive with just a single endpoint - but imagine a real application with half a dozen (or more) tags and dozens of endpoints. Being able to import the entire thing into your REST client with the click of a button sure is cool! And to top it all off, it’s not just any old REST client - it’s Insomnia! 😎
Anyway, that’s all from me for today. Happy coding!
Catch ya!